
I made these lovely origami hearts from a video tutorial that doesn't seem to play anymore. I couldn't find any other instructions online for this super great design, so, while I can still remember how to make it, I thought I would put together my very own step-by-step photo tutorial. It's the perfect decor for so many occasions!
Use a square piece of paper, preferably craft paper to give the heart more stability.

Crease it in the middle, without folding it.

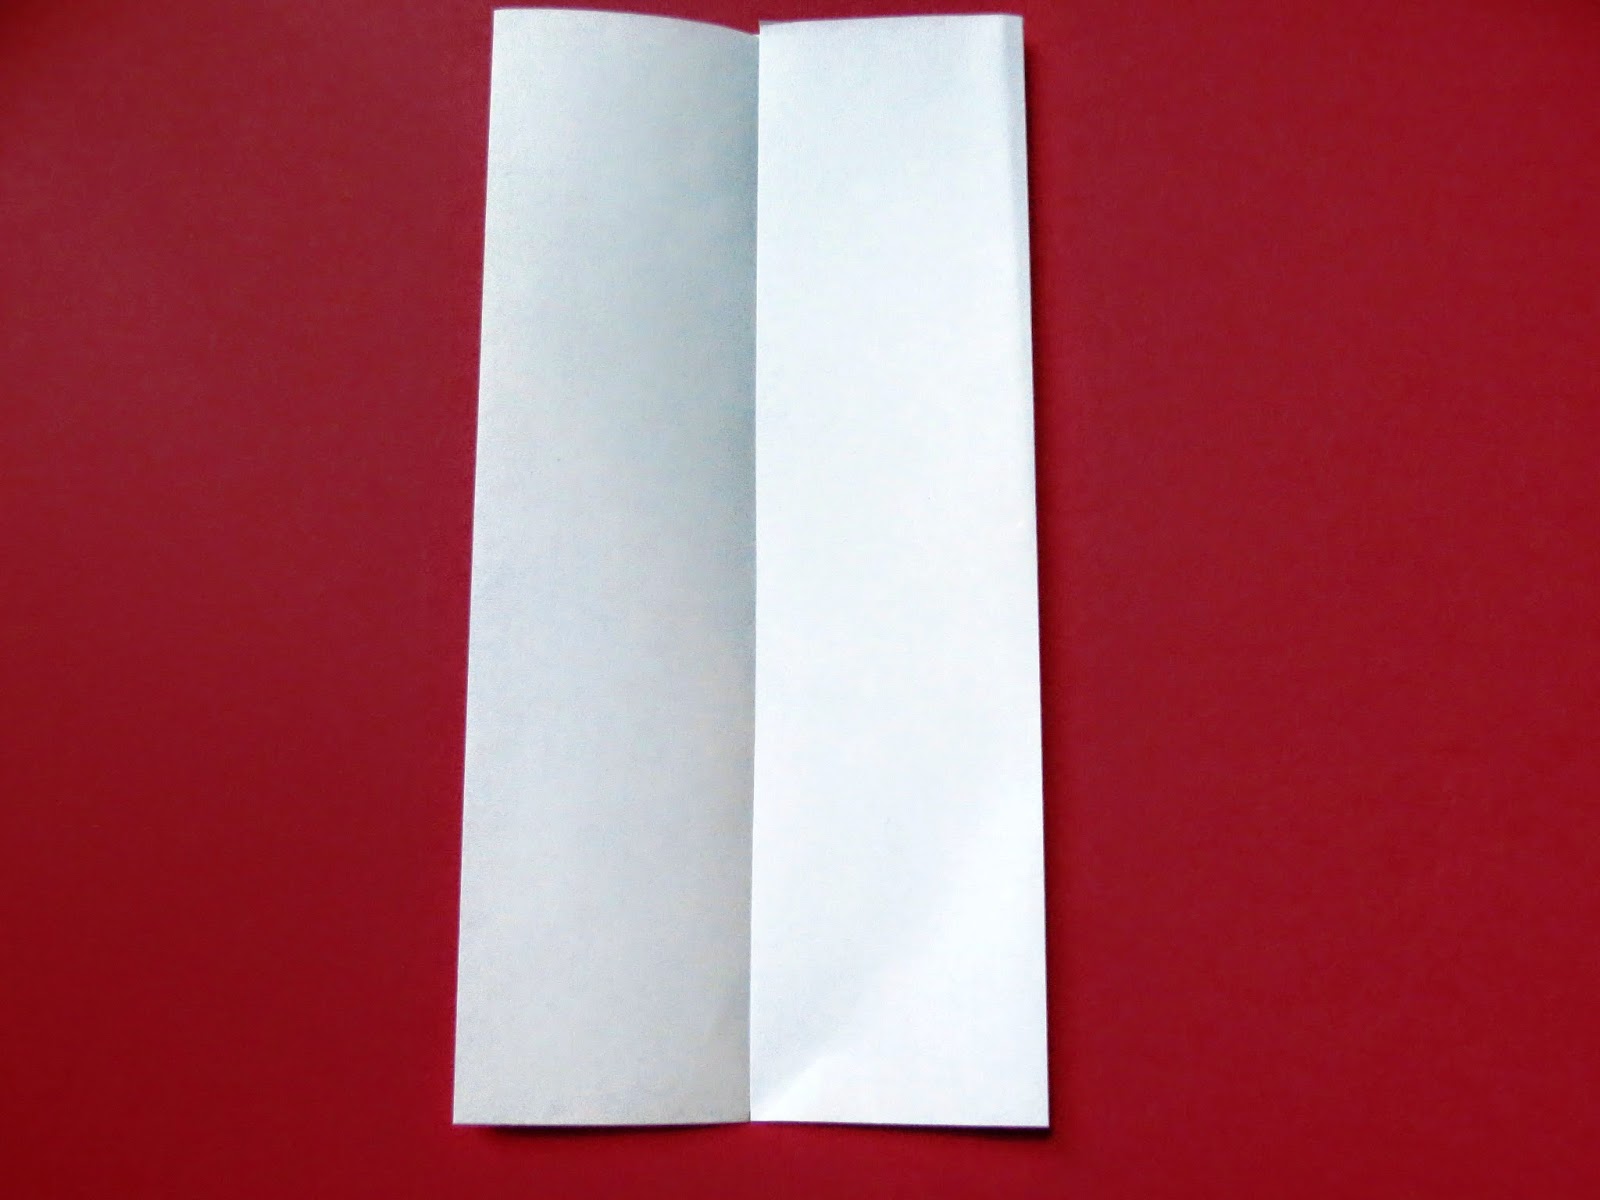
Bring both sides to meet the mark made by the previous crease.


Open it again. You now have three marks: 2 folds and one middle crease.

Bring the sides to meet each opposite line created by the folds. Crease it, don't fold.

When you open it again, if you have 2 well marked folds on each side, and three creased marks in between, then you know you are on the right path.

Fold it closed again. Fold triangles on all 4 corners.


Then, fold over again, as shown in the picture below.

The next step is the tricky one. We are going to reverse the fold. Open the triangle you made and press it to the inside. Then, use the mark made by the second and small triangle to lock the fold in place. Do the same with the other corner.


For the too of the paper, reverse the fold on the small triangles only.

Next, Fold the origami in half, making the points meet.

This step is a little awkward, but easy. Take each top corner and bring it to meet the point between the bottom tip of the heart and the side, as shown on the picture below.

Next, fold the top corners using the parallel marks as a guide.

Fold it again.

Reverse the fold and lock it down.

Insert the flaps of one side on the heart into the fold son the other side of the heart.

Press the top of the heart down to finish the heart shape.

Use a square piece of paper, preferably craft paper to give the heart more stability.
Crease it in the middle, without folding it.
Bring both sides to meet the mark made by the previous crease.
Open it again. You now have three marks: 2 folds and one middle crease.
Bring the sides to meet each opposite line created by the folds. Crease it, don't fold.
When you open it again, if you have 2 well marked folds on each side, and three creased marks in between, then you know you are on the right path.
Then, fold over again, as shown in the picture below.
The next step is the tricky one. We are going to reverse the fold. Open the triangle you made and press it to the inside. Then, use the mark made by the second and small triangle to lock the fold in place. Do the same with the other corner.
For the too of the paper, reverse the fold on the small triangles only.
Next, Fold the origami in half, making the points meet.
Reverse the fold and lock it down.
No comments:
Post a Comment