 I was one of these crafty kids that would take every opportunity to start a little project and let creativity flow. I was convinced that birthdays, X-mas, Eastern and every other special occasional existed just so that I could hand-make something for someone. And I always did. Whether I did it for the pleasure of creating it, for the smile on the recipient's face, or simply because I was seeking for compliments, I still don't know. One day, I will probably discover it's all of the above.
So, now one of these special events is approaching, probably the biggest one, when we actually have to use quite a large stock of our creative ideas if we want to get that smile and that compliment from everyone. A gift, to me, is only a gift if there has been thought and care put into it. So, for this Christmas, my first project happens to be also my first post on this brand new blog: a little drawstring bag to go along with the pilates rubber bands that I got for my mum. My mum tries to exercise whenever she can, but every now and then she has to go on a business trip that throws off her work out schedule. So, I thought, why not get her something small, versatile and really effective, that she can take with her when she travels? Thus the rubber bands. And thus the little drawstring bag to make it even more portable and, of course, add a personal touch to the gift!
This bag can be made in many different sizes and for many different purposes. You might even like to label it with some crochet-made letters or a piece of fabric sewed on the outside and your best handwriting skills on fabric markers. Just remember to send me a picture!
You can find this tutorial at PurlBee.com, but I decided to document my version of it anyways. Here is goes!
You can find this tutorial at PurlBee.com, but I decided to document my version of it anyways. Here is goes!
Little All Purpose Drawstring Bag
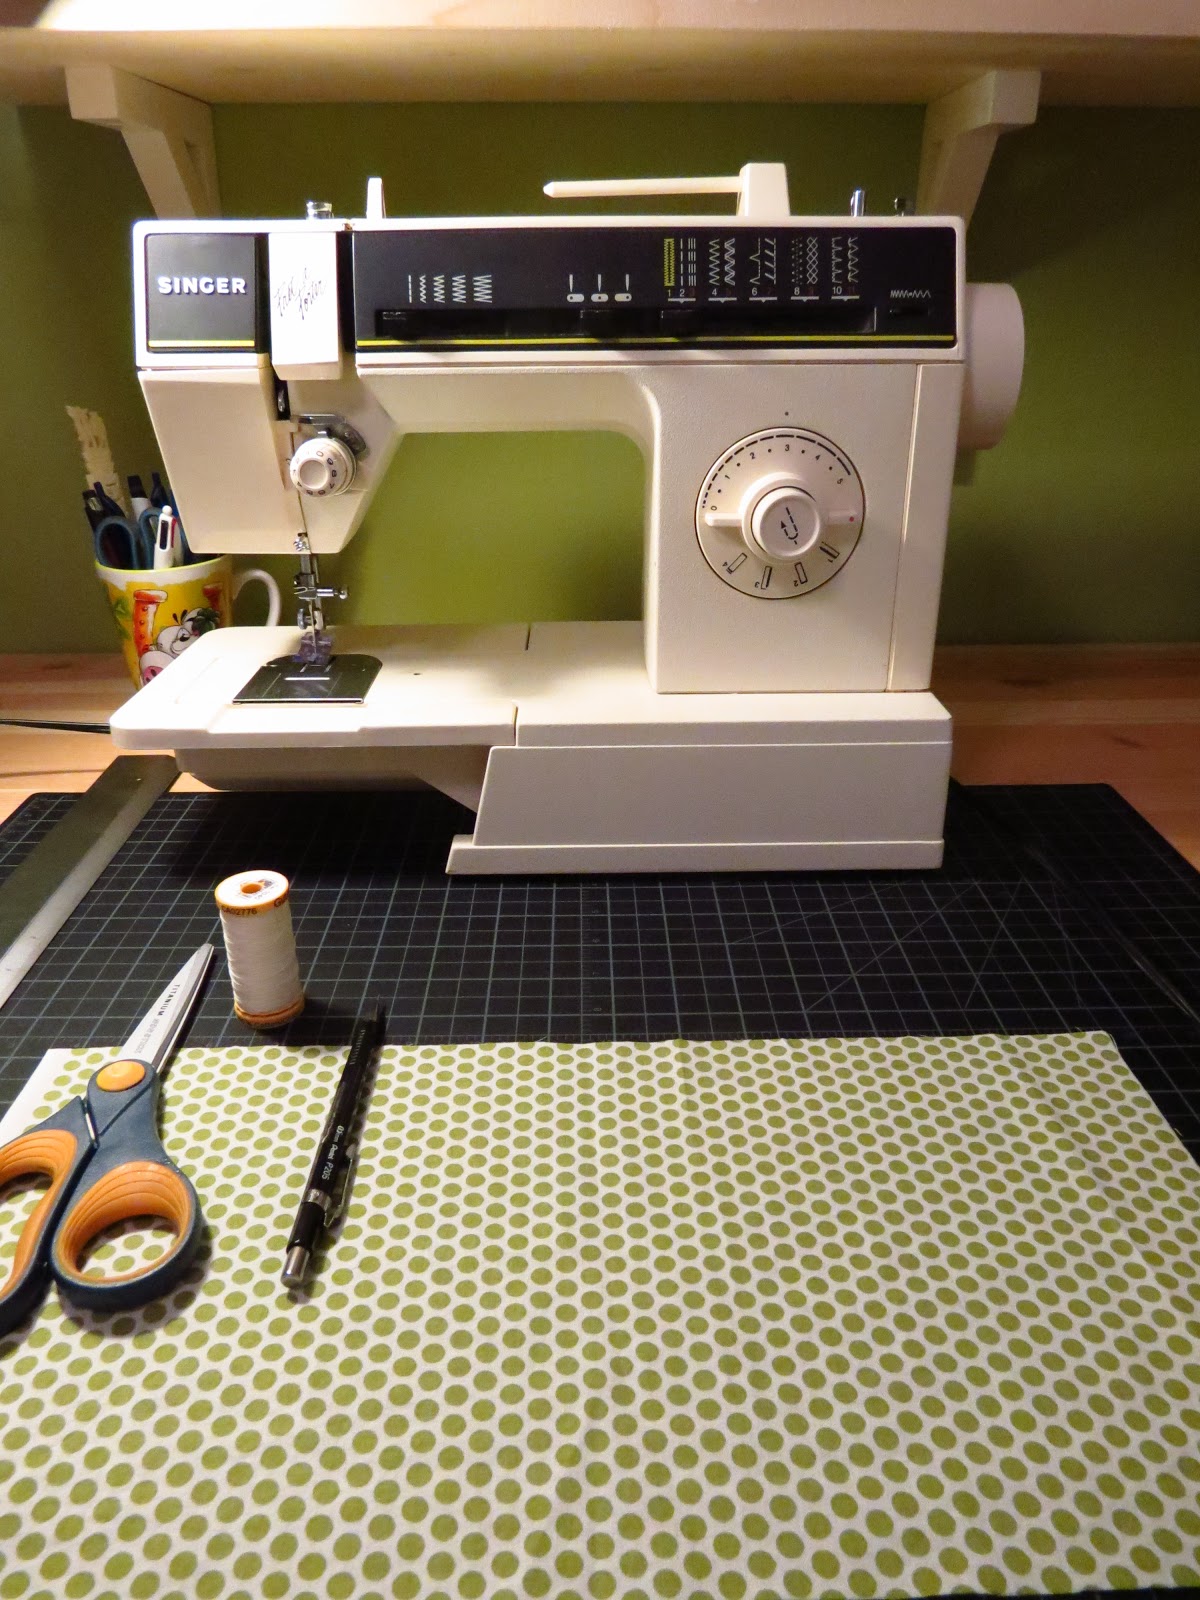
For this project you will need:
8" x 16" fabric (it can really be any kind of fabric - try something fun)
Thread that matches your fabric
Sewing machine (mine had been around longer that I have)
Scissors
Ruler
Pencil (I used a mechanical one, because it was all I had)
Truth is, I haven't been doing this very long, so my materials are whatever I have available. So, it's very important to improvise whenever you need to (I like to think that it's part of the creative process)!
To start, fold your 8" x 16" fabric in half, so that you have a 8" x 8" square. Make sure to align the sides as best as you can. Now, the fold will be on the bottom and you will sew along the right and left side, leaving 2" on the top, on each side.

After making a mistake, I realized it's better to mark the 2" with a pin, so that it serves as a guide. = /

Remember to cut off any extra thread.

Now, fold the right and left 2" openings into a 1/4" flap...

... and another 1/4" on the top (for some reason I can't get this picture to rotate, so you'll just have to work with me here).

Then, fold the top again 3/4" and pin to make it more stable.

In this picture you can see how this step is supposed to look like.

You will then sew a small trim, as shown on the picture. But attention, learn from my mistakes! make sure you don't sew the bag close, meaning, don't sew the front and back side together! You want to make this step on both sides of the fabric, but once at a time.

And once you are done with both sides, it will look like this:

And like this:
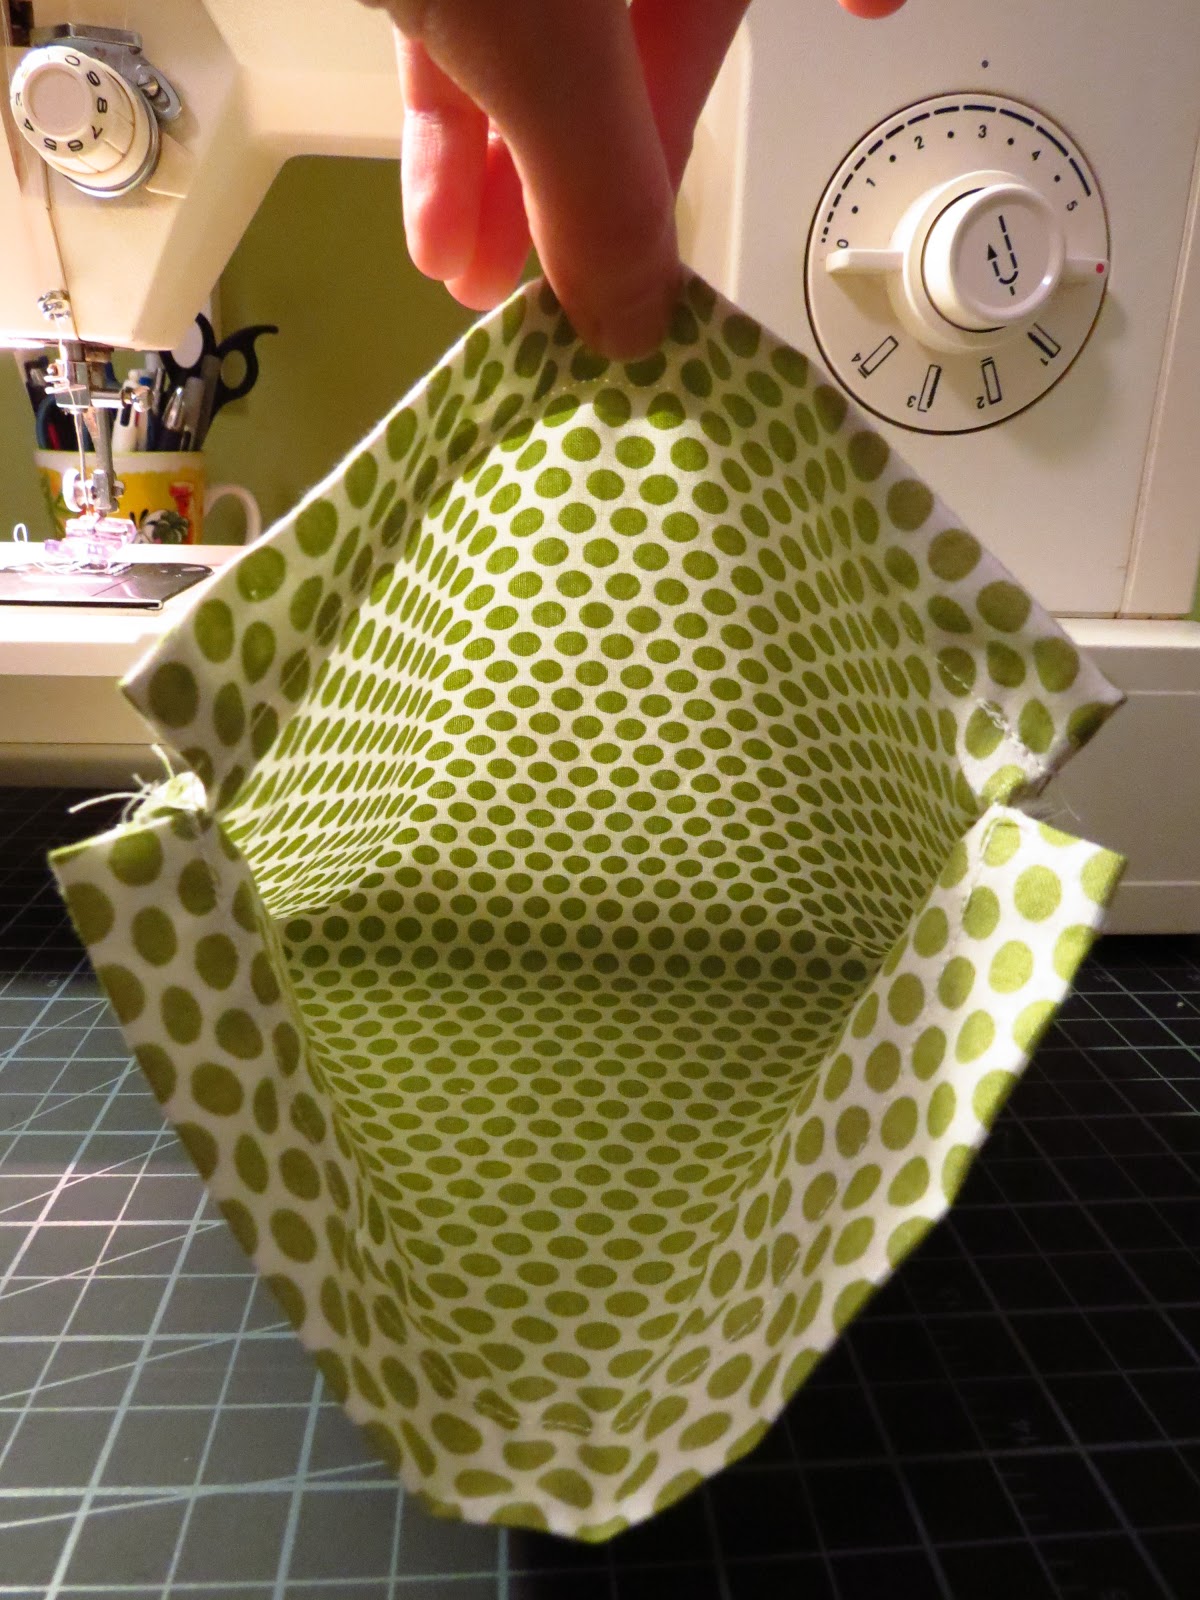
So, it's shaping up. We're almost done! Now you need to push the bottom of the bag in, leaving the two sewed sides aligned. I'm not sure how to better explain this, but I promise you'll figure it out once you get to that step.

The last step on the sewing machine is to sew the bottom corners. For that, first mark a line approximately 1" from the tip, on both sides.

Then sew across that line...

...and cut of the little triangles on both sides to remove the unnecessary extra cloth in the inside of the bag.

Now, the fun part! Turn it inside out and see how beautiful your bag looks! And last but not least, choose a nice color for the ribbon and cut 2 ribbons of maybe a foot long each. The first ribbon will go through one channel from right to left and though the next channel from left to right. The second ribbon will do the opposite. A security pin is a nice help. Then all you have to do is join the ribbons on both ends with a little not and voilà! You have made a cute little all purpose bag!

And look at this nice flat bottom!

Now, I'm packing in mine my mum's exercise bands. What about you?

No comments:
Post a Comment